
When you have a new hardware idea either for research or commercialization (sales), the first step is to create a working prototype.
This write-up provides a brief overview of the steps and processes to create a working prototype for your product. This device can also serve as a brief introduction to the hardware design process. Note of warning, hardware is hard, so you’ll need a lot of patience and effort to get the expected results. Breaking the hardware design process into stages can help to reduce error hence increasing the chances of success.
The first step in making a prototype is specifying the requirement. Before you decide to hire an engineer or start the project yourself, you need to put the project requirements down in a concise form. A good requirement document should contain the following elements:
System throughput, maintenance, and power requirements, Security, Ballot format, Ballot marking parameters, User interface, Configurable settings, Required outputs (i.e. Reports), Communication interfaces, Error Handling, Operational Diagnostics, Memory requirements, Mechanical requirements, Subsystems requirements, Environmental requirements, Agency requirements and Test reports.
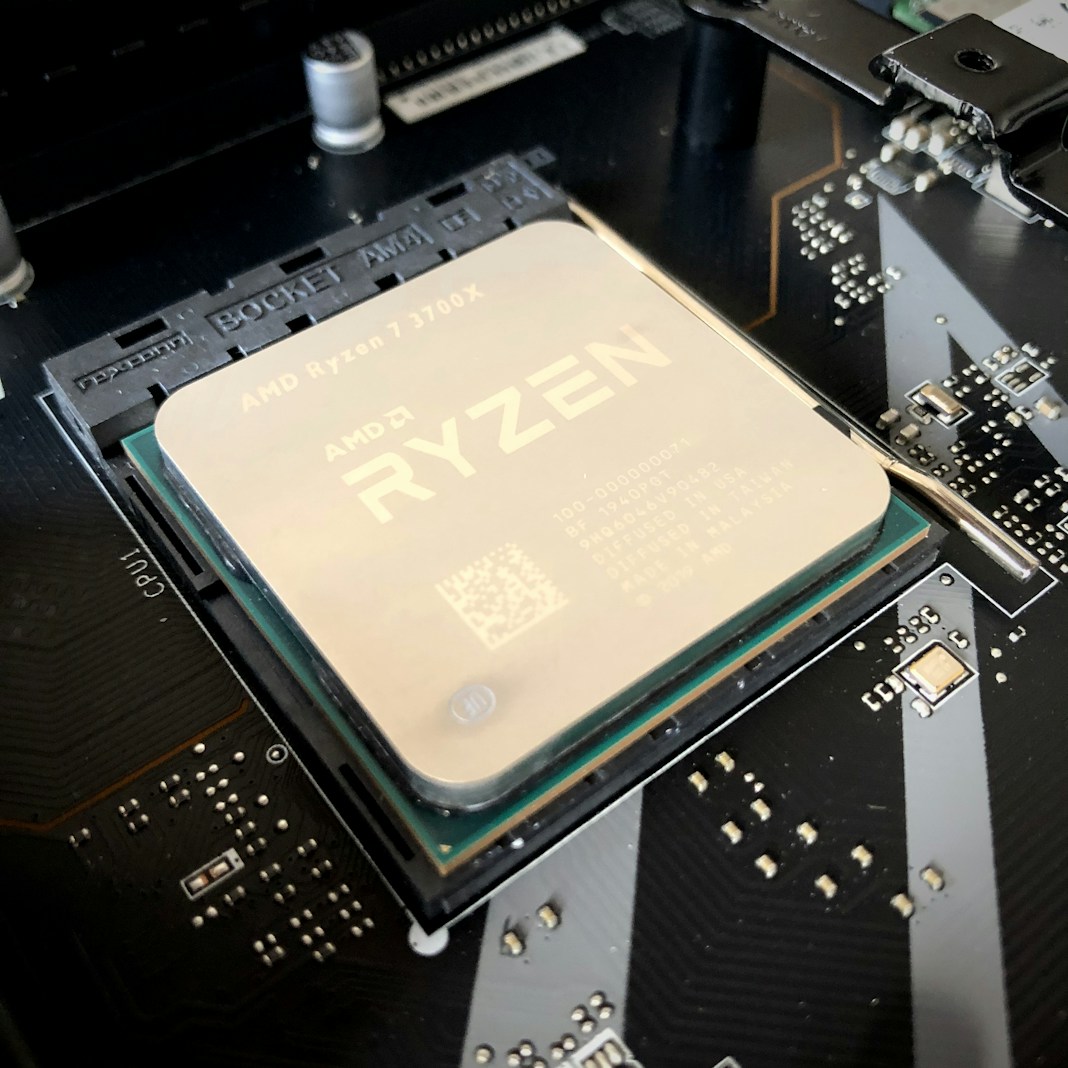
The Electronics

Creating a prototype of the electronics section can be separated into 4 steps.
You’ll need to hire a design engineer to design the electronics. If you are a hobbyist to a maker, it’s possible to design electronics online with the help of some online resources. Hiring an engineer can help to speed up the process.
Step 1 – Create the electronics blueprint (schematic)
The first step in electronics development is the creation of a blueprint-like drawing called a schematic. The schematic provides all of the necessary details to build the electronics including how all of the components are connected together.
This is also when all of the electronic components will be specified. A Bill of Materials (BOM) will be created detailing every electronic component.
Step 2 – Create an intermediate prototype (optional)
Depending on the project and your budget you may or may not want to create an intermediate prototype of the electronics.
Some techniques for intermediate prototypes are to use breadboarding (a method for quickly and crudely connecting electronic components) and/or existing development modules like the Arduino and Raspberry Pi.
Step 3 – Create the printed circuit board (PCB) layout
Eventually, you must make your way to creating a production-quality prototype. To do that requires creating a printed circuit board (PCB).
A PCB is a custom-designed board that holds and connects all of the electronic components. Using special software your electronics engineer will turn the abstract schematic (blueprint) into a real-world physical PCB layout. This is a complex step because the PCB layout can have a great impact on the performance of the end product.
Step 4 – Electronics fabrication
The PCB layout design files are now sent to a special electronics prototyping company for production. The first step is to fabricate the empty printed circuit boards.
Once the PCB is fabricated the next step is to assemble it by soldering on all the various components. Most modern microchips have very close pin spacing making them very difficult to solder manually so usually very precise automated machines are used.
The Plastic

Just about any electronic product is enclosed in a plastic case of some sort. In order to create a prototype of a custom-shaped case, you will need to use 3D printing.
Step 1 – Create the 3D model
The first step is to create a 3D computer model of your product’s plastic parts. Unless you’ve done computer modeling or drafting in the past you’ll need a 3D modeling expert for this step.
Even if you can do the modeling yourself, the 3D software required is expensive and may cost more than hiring an expert.
Step 2 – 3D printing
Once you have the 3D model completed you can send the design files to a 3D printer for prototyping. There are countless prototype shops that offer 3D printing.
The other option is to purchase your own 3D printer. In the past couple of years, they have gotten cheap enough for home use.
Be warned however that completely different technology is used for the large-scale production of custom plastic pieces. This technology is called high-pressure injection molding. Transitioning a custom plastic design from prototype to full production is a very complex and costly process.
Once you have a functional prototype in hand then you can proceed with getting initial customers, market feedback, a manufacturing partner, and investors. It’s a long path to success with a hardware product, but it all begins with the prototype.


